Jeep Parts Wiki | Ford Parts Wiki
Home | Search | Browse
Prev

 Next
Next
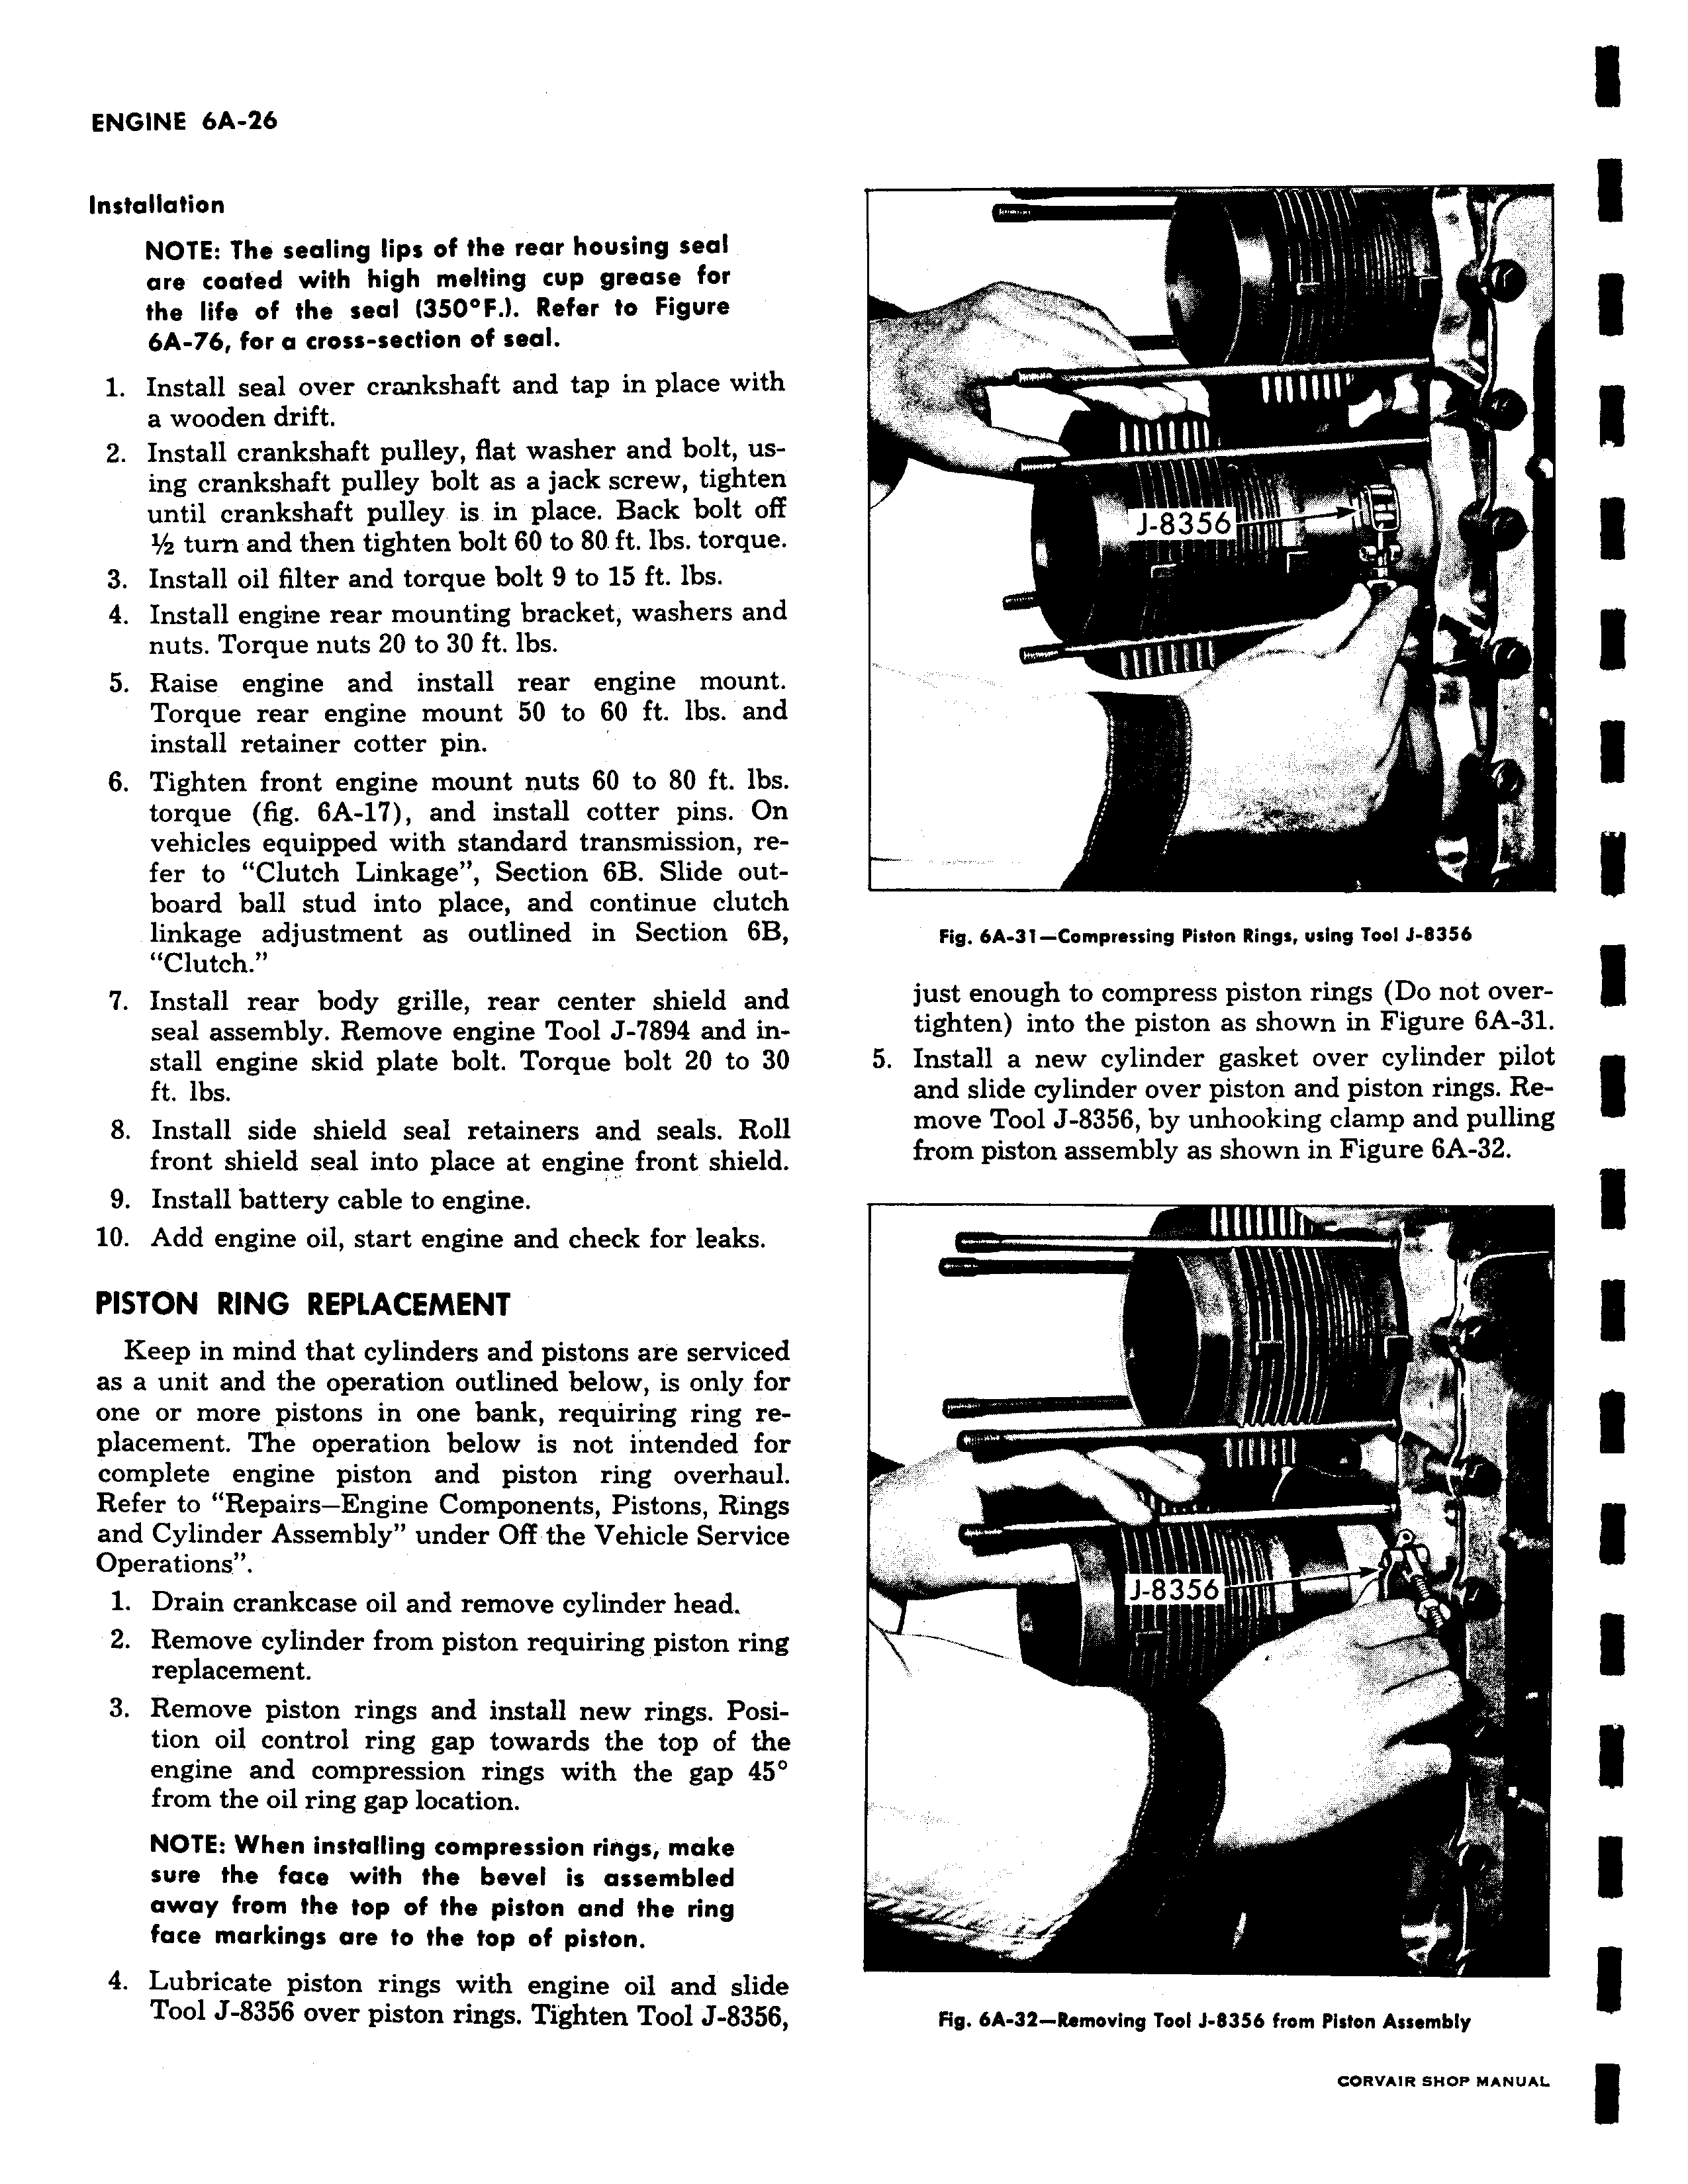
cWVwc vr av Installation NOTE The sealing lips of the rear housing seal are coated with high melting cup grease for the life of the seal 350 F Refer to Figure 6A 76 for a cross section of seal 1 Install seal over crankshaft and tap in place with a wooden drift 2 Install crankshaft pulley flat washer and bolt using crankshaft pulley bolt as a jack screw tighten until crankshaft pulley is in place Back bolt off 1 z turn and then tighten bolt 60 to 80 ft lbs torque 3 Install oil filter and torque bolt 9 to 15 ft lbs 4 Install engine rear mounting bracket washers and nuts Torque nuts 20 to 30 ft lbs 5 Raise engine and install rear engine mount Torque rear engine mount 50 to 60 ft lbs and install retainer cotter pin 6 Tighten front engine mount nuts 60 to 80 ft lbs torque fig 6A 17 and install cotter pins On vehicles equipped with standard transmission refer to Clutch Linkage Section 6B Slide outboard ball stud into place and continue clutch linkage adjustment as outlined in Section 6B Clutch 7 Install rear body grille rear center shield and seal assembly Remove engine Tool J 7894 and install engine skid plate bolt Torque bolt 20 to 30 ft lbs 8 Install side shield seal retainers and seals Roll front shield seal into place at engine front shield 9 Install battery cable to engine 10 Add engine oil start engine and check for leaks PISTON RING REPLACEMENT Keep in mind that cylinders and pistons are serviced as a unit and the operation outlined below is only for one or more pistons in one bank requiring ring replacement The operation below is not intended for complete engine piston and piston ring overhaul Refer to Repairs Engine Components Pistons Rings and Cylinder Assembly under Off the Vehicle Service Operations 1 Drain crankcase oil and remove cylinder head 2 Remove cylinder from piston requiring piston ring replacement 3 Remove piston rings and install new rings Position oil control ring gap towards the top of the engine and compression rings with the gap 45 from the oil ring gap location NOTE When installing compression rings make sure the face with the bevel is assembled away from the top of the piston and the ring face markings are to the top of piston 4 Lubricate piston rings with engine oil and slide Tool J 8356 over piston rings Tighten Tool J 8356 r f I d W w t111 14 i FA f MIA k i

 Next
Next