Jeep Parts Wiki | Ford Parts Wiki
Home | Search | Browse
Prev

 Next
Next
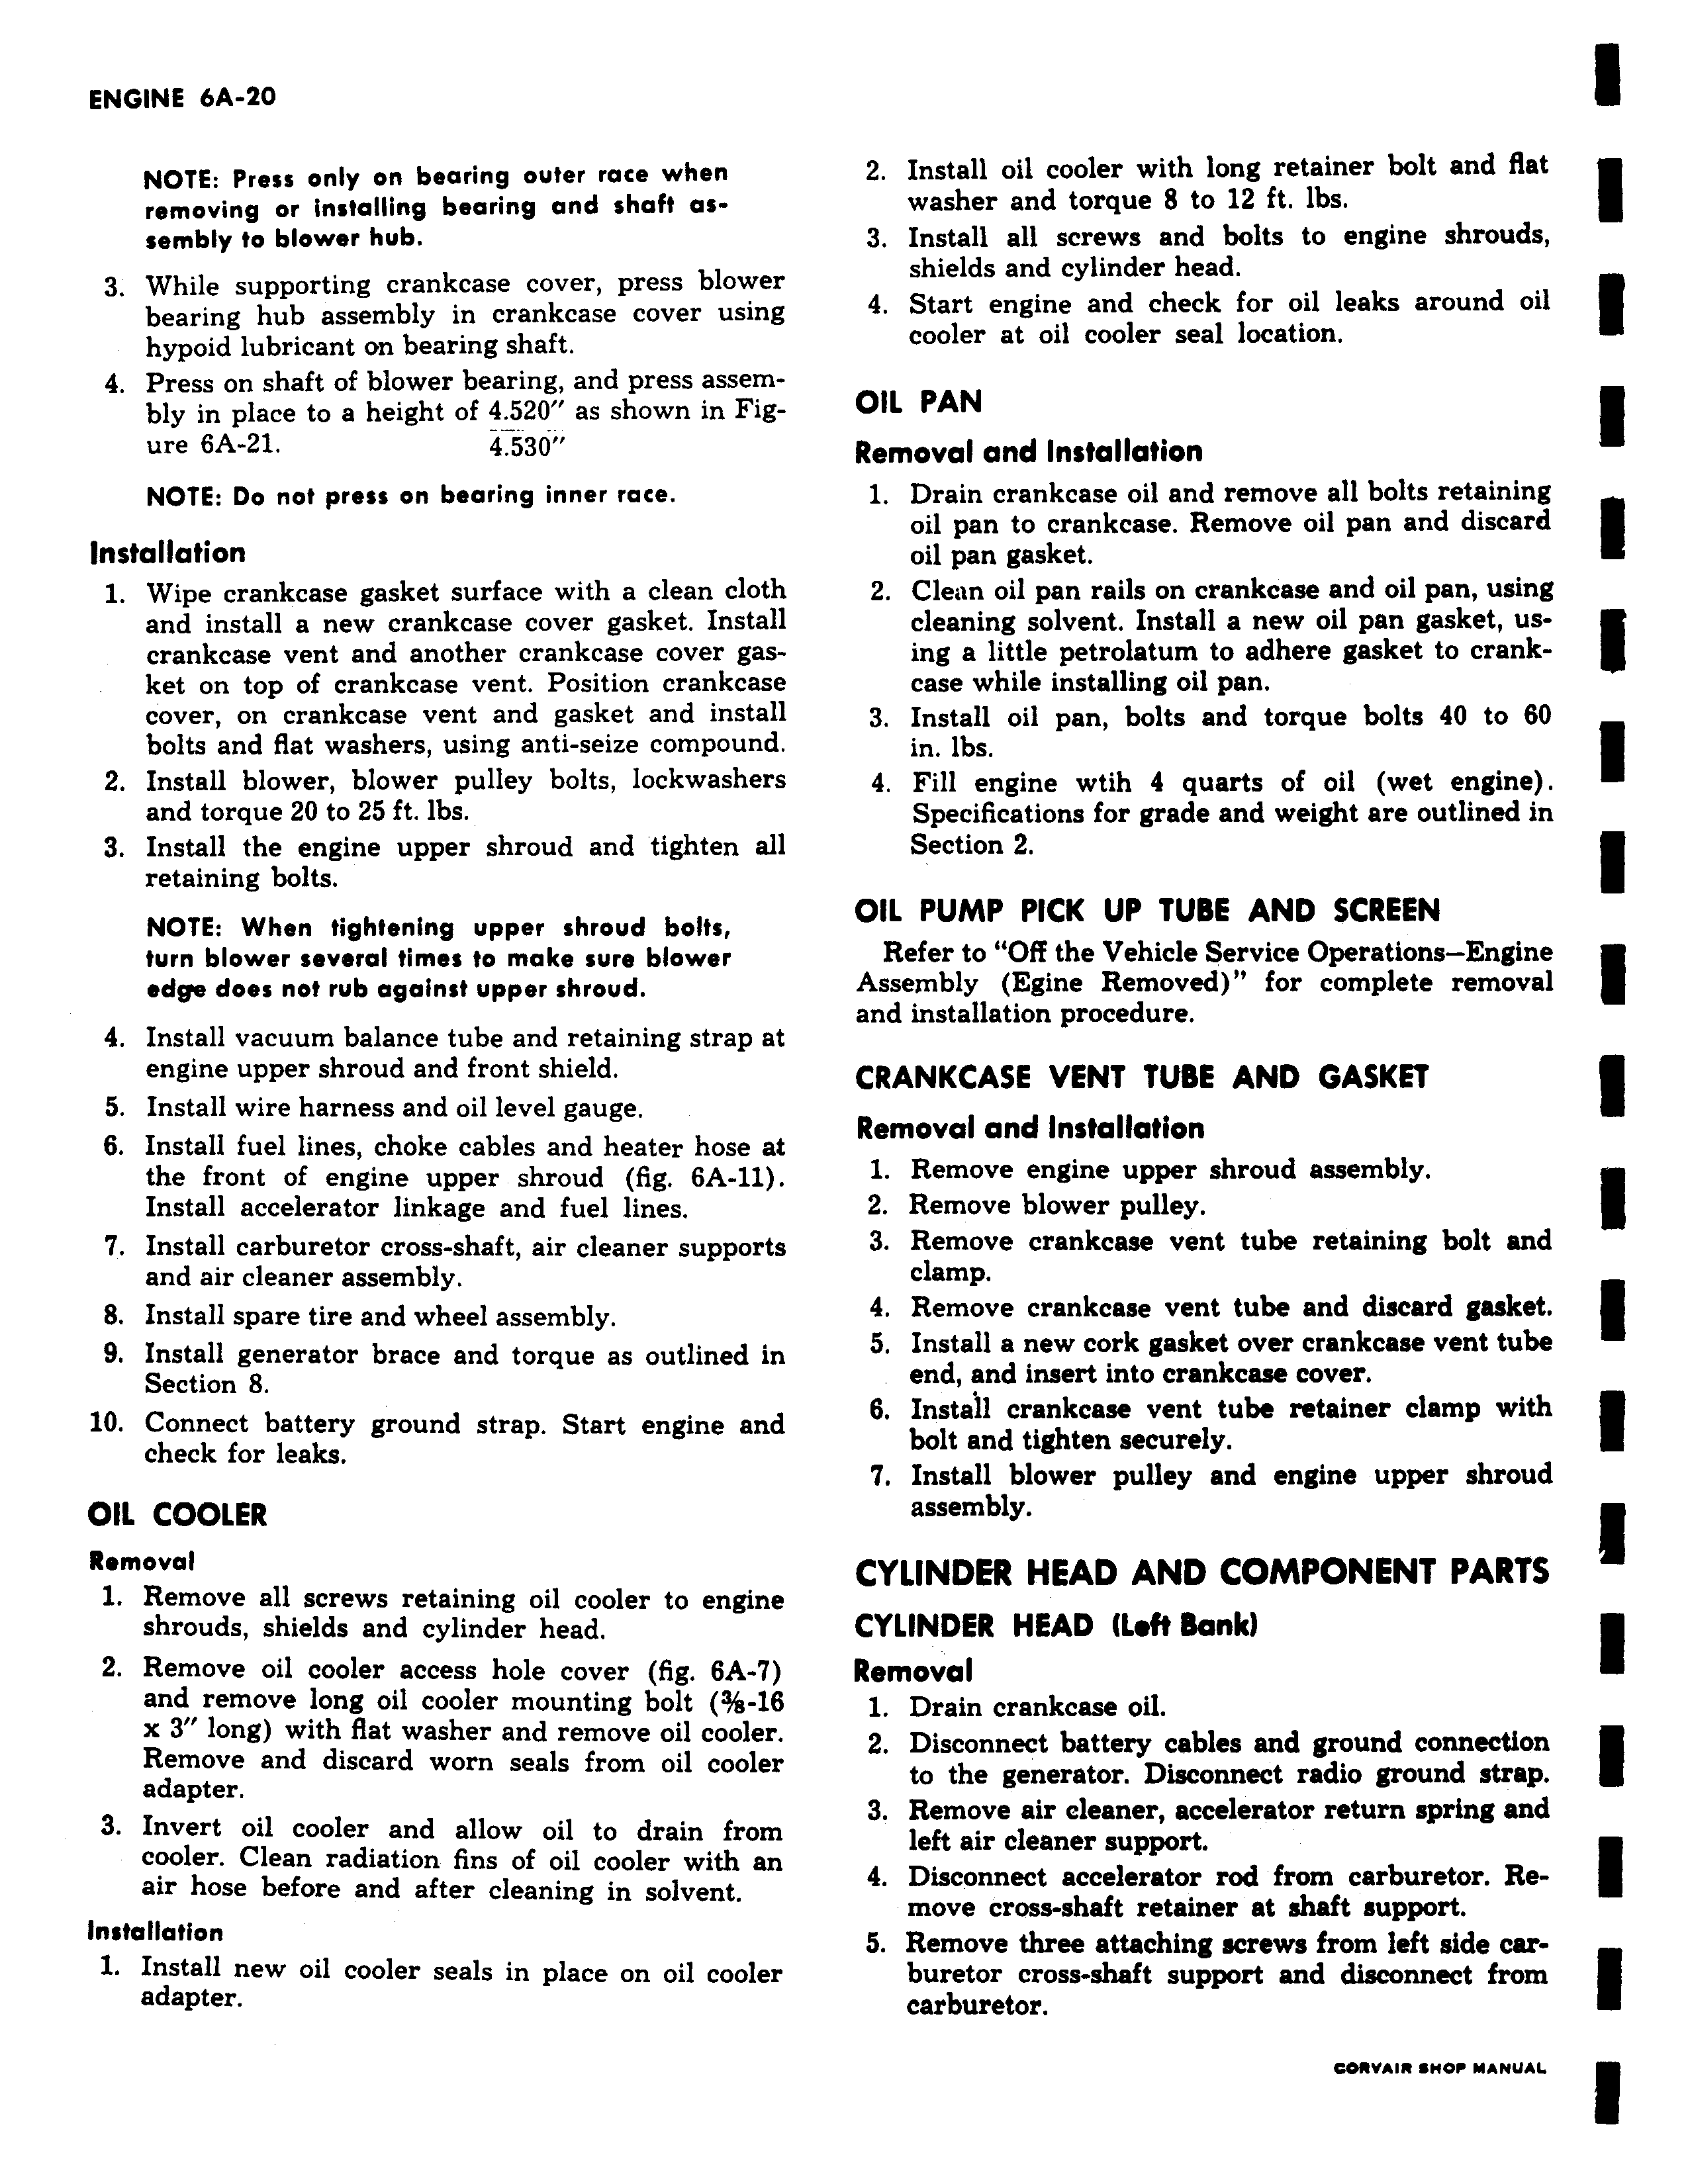
NOTE Press only on bearing outer race when removing or installing bearing and shaft assembly to blower hub 3 While supporting crankcase cover press blower bearing hub assembly in crankcase cover using hypoid lubricant on bearing shaft 4 Press on shaft of blower bearing and press assembly in place to a height of 4 520 as shown in Figure 6A 21 4 530 NOTE Do not press on bearing inner race Installation 1 Wipe crankcase gasket surface with a clean cloth and install a new crankcase cover gasket Install crankcase vent and another crankcase cover gasket on top of crankcase vent Position crankcase cover on crankcase vent and gasket and install bolts and flat washers using anti seize compound 2 Install blower blower pulley bolts lockwashers and torque 20 to 25 ft lbs 3 Install the engine upper shroud and tighten all retaining bolts NOTE When tightening upper shroud bolts turn blower several times to make sure blower edge does not rub against upper shroud 4 Install vacuum balance tube and retaining strap at engine upper shroud and front shield 5 Install wire harness and oil level gauge 6 Install fuel lines choke cables and heater hose at the front of engine upper shroud fig 6A 11 Install accelerator linkage and fuel lines 7 Install carburetor cross shaft air cleaner supports and air cleaner assembly 8 Install spare tire and wheel assembly 9 Install generator brace and torque as outlined in Section 8 10 Connect battery ground strap Start engine and check for leaks OIL COOLER Removal 1 Remove all screws retaining oil cooler to engine shrouds shields and cylinder head 2 Remove oil cooler access hole cover fig 6A 7 and remove long oil cooler mounting bolt 3ra 16 x 3 long with flat washer and remove oil cooler Remove and discard worn seals from oil cooler adapter 3 Invert oil cooler and allow oil to drain from cooler Clean radiation fins of oil cooler with an air hose before and after cleaning in solvent Installation 1 Install new oil cooler seals in place on oil cooler adapter 2 Install oil cooler with long retainer bolt and flat washer and torque 8 to 12 ft lbs 3 Install all screws and bolts to engine shrouds shields and cylinder head 4 Start engine and check for oil leaks around oil cooler at oil cooler seal location OIL PAN Removal and Installation 1 Drain crankcase oil and remove all bolts retaining oil pan to crankcase Remove oil pan and discard oil pan gasket 2 Clean oil pan rails on crankcase and oil pan using cleaning solvent Install a new oil pan gasket using a little petrolatum to adhere gasket to crankcase while installing oil pan 3 Install oil pan bolts and torque bolts 40 to 60 in lbs 4 Fill engine wtih 4 quarts of oil wet engine Specifications for grade and weight are outlined in Section 2 OIL PUMP PICK UP TUBE AND SCREEN Refer to Off the Vehicle Service Operations Engine Assembly Egine Removed for complete removal and installation procedure CRANKCASE VENT TUBE AND GASKET Removal and Installation 1 Remove engine upper shroud assembly 2 Remove blower pulley 3 Remove crankcase vent tube retaining bolt and clamp 4 Remove crankcase vent tube and discard gasket 5 Install a new cork gasket over crankcase vent tube end and insert into crankcase cover 6 Install crankcase vent tube retainer clamp with bolt and tighten securely Install blower pulley and engine upper shroud assembly CYLINDER HEAD AND COMPONENT PARTS CYLINDER HEAD Left Bank Removal 1 Drain crankcase oil 2 Disconnect battery cables and ground connection to the generator Disconnect radio ground strap 3 Remove air cleaner accelerator return spring and left air cleaner support 4 Disconnect accelerator rod from carburetor Remove cross shaft retainer at shaft support 5 Remove three attaching screws from left side carburetor cross shaft support and disconnect from carburetor

 Next
Next