Jeep Parts Wiki | Ford Parts Wiki
Home | Search | Browse
|
Corvair Chassis Shop Manual December 1964 |
|
Prev

 Next
Next
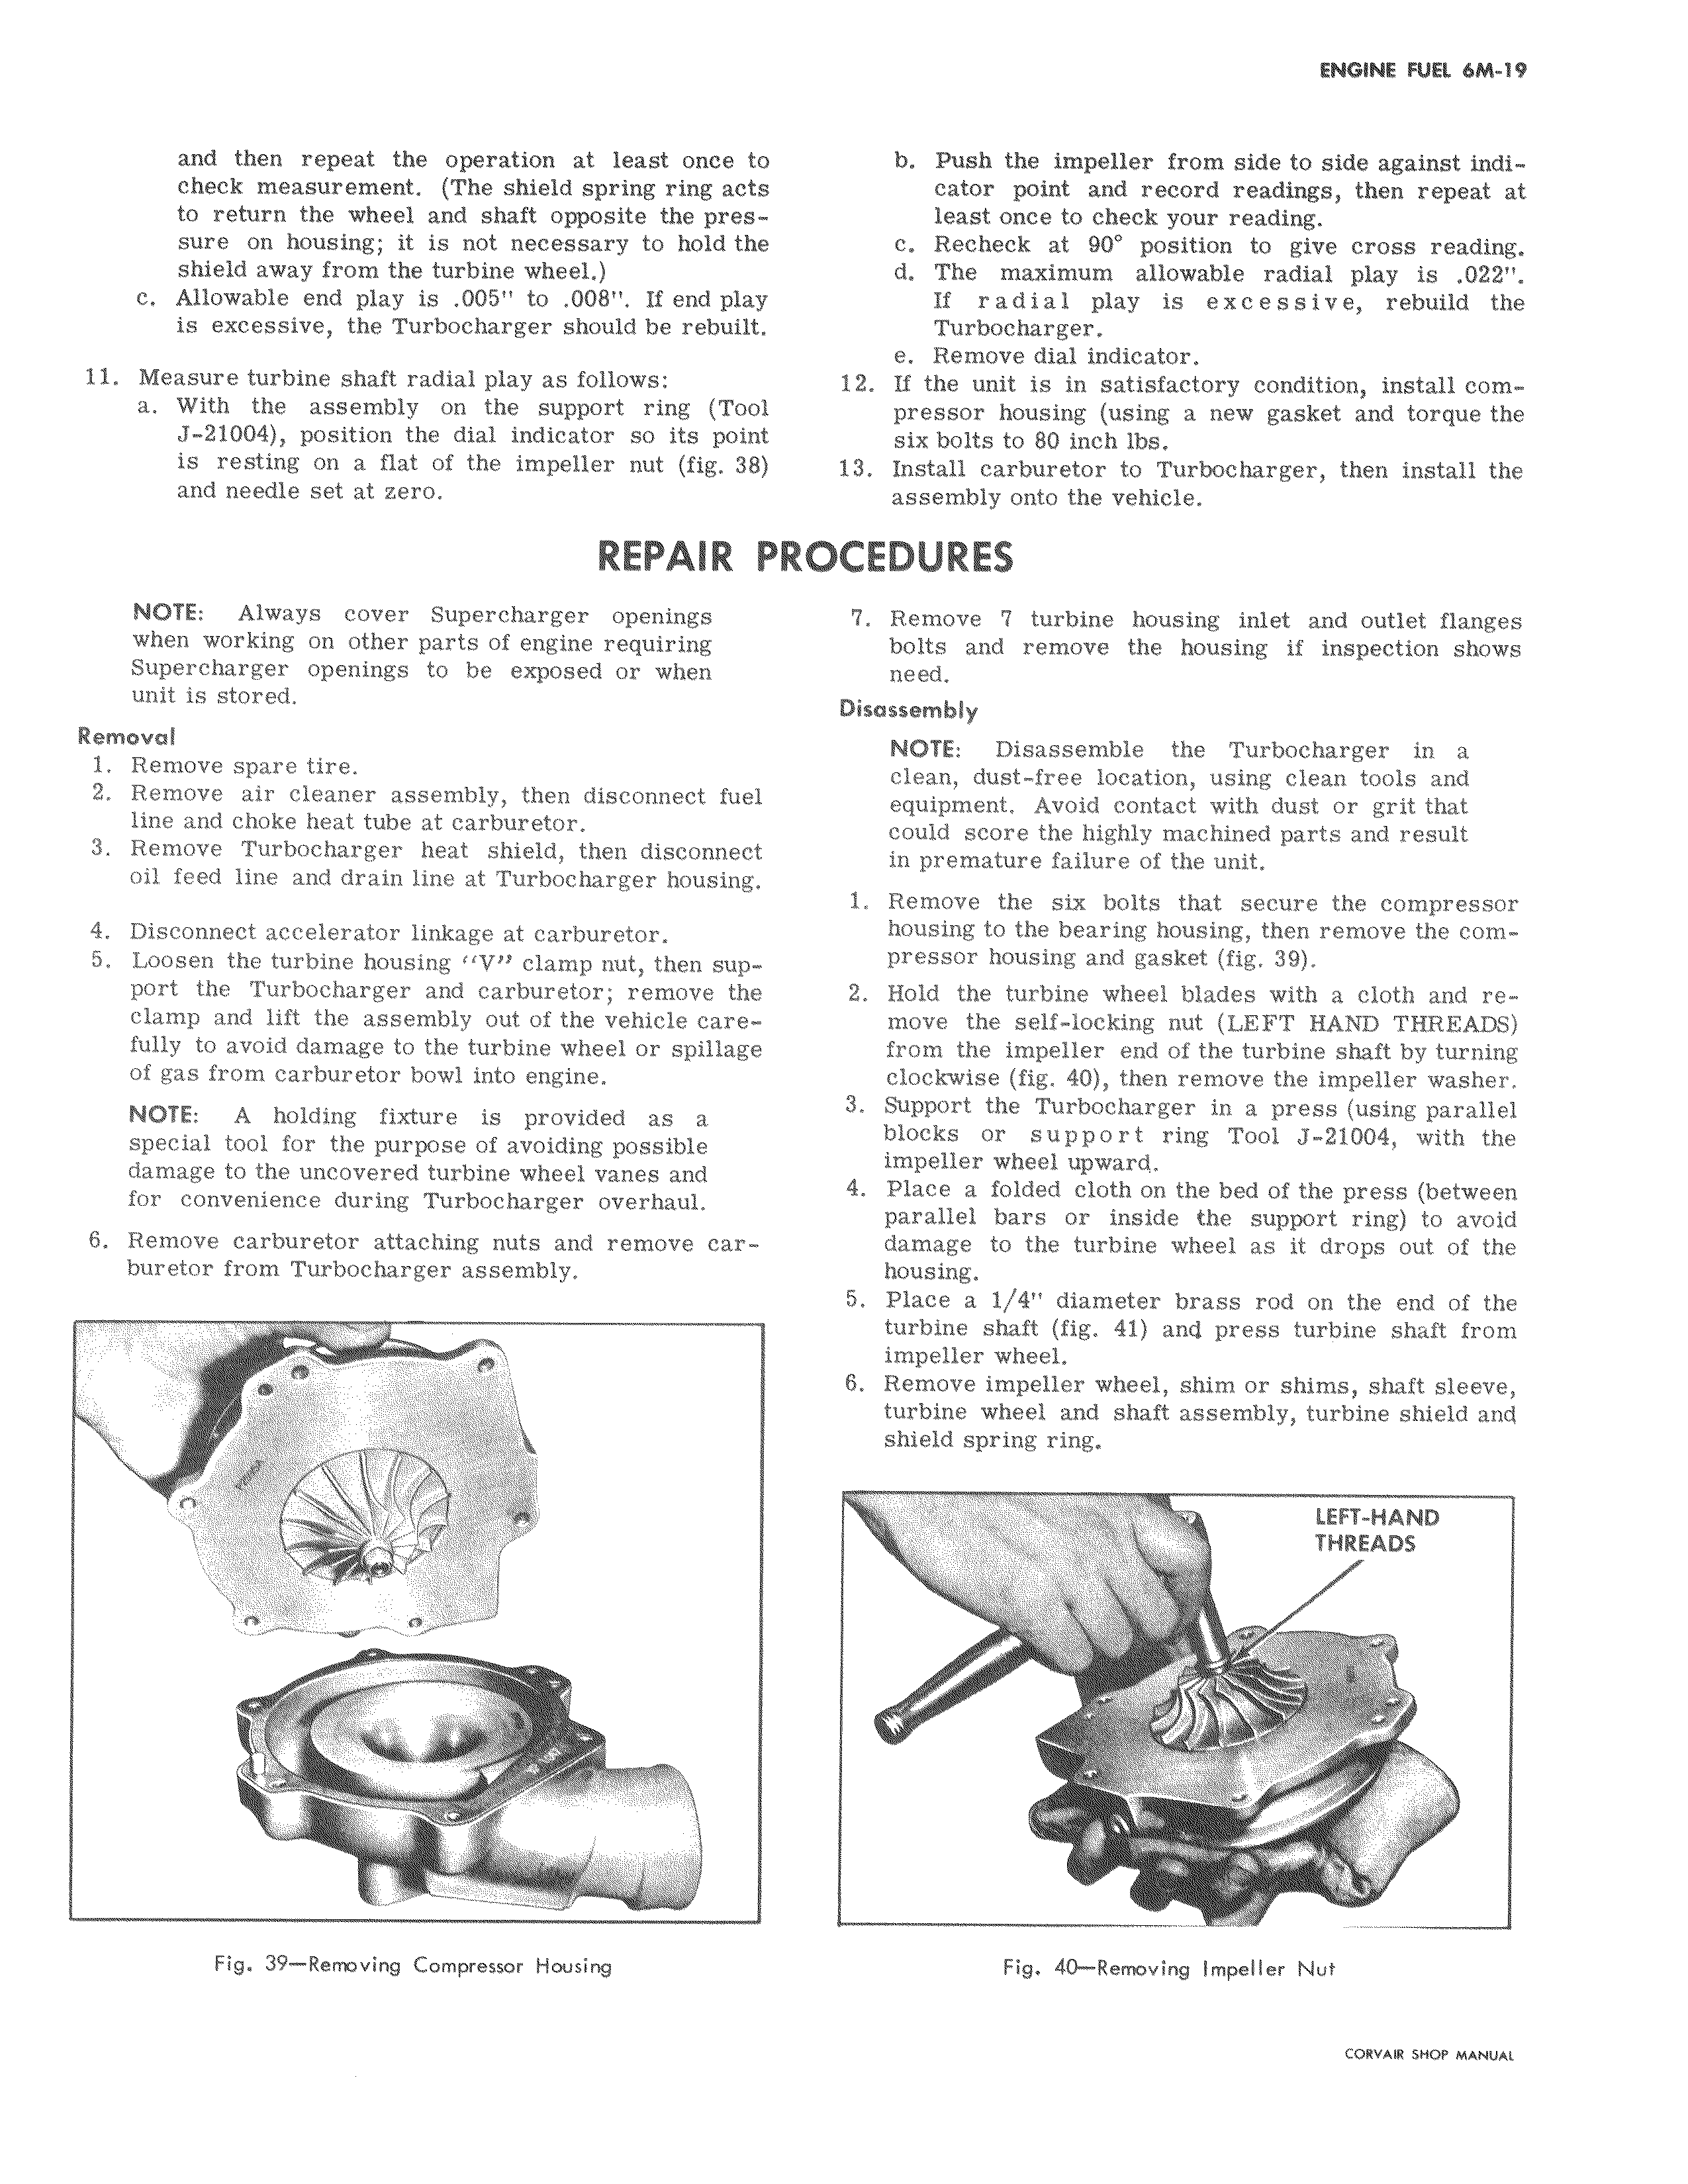
and then repeat the operation at least once to check measurement The shield spring ring acts to return the wheel and shaft opposite the pressure on housing it is not necessary to hold the shield away from the turbine wheel c Allowable end play is 005 to 008 If end play is excessive the Turbocharger should be rebuilt 11 Measure turbine shaft radial play as follows a With the assembly on the support ring Tool J 21004 position the dial indicator so its point is resting on a flat of the impeller nut fig 38 and needle set at zero REPAIR PR NOTE Always cover Supercharger openings when working on other parts of engine requiring Supercharger openings to be exposed or when unit is stored Removal 1 Remove spare tire 2 Remove air cleaner assembly then disconnect fuel line and choke heat tube at carburetor 3 Remove Turbocharger heat shield then disconnect oil feed line and drain line at Turbocharger housing 4 Disconnect accelerator linkage at carburetor 5 Loosen the turbine housing V clamp nut then support the Turbocharger and carburetor remove the clamp and lift the assembly out of the vehicle carefully to avoid damage to the turbine wheel or spillage of gas from carburetor bowl into engine NOTE A holding fixture is provided as a special tool for the purpose of avoiding possible damage to the uncovered turbine wheel vanes and for convenience during Turbocharger overhaul 6 Remove carburetor attaching nuts and remove carburetor from Turbocharger assembly i r r ev t 1 r Fig 39 Removing Compressor Housing b Push the impeller from side to side against indicator point and record readings then repeat at least once to check your reading c Recheck at 90 position to give cross reading d The maximum allowable radial play is 022 If radial play is excessive rebuild the Turbocharger e Remove dial indicator 12 If the unit is in satisfactory condition install compressor housing using a new gasket and torque the six bolts to 80 inch lbs 13 Install carburetor to Turbocharger then install the assembly onto the vehicle OCEDURES 7 Remove 7 turbine housing inlet and outlet flanges bolts and remove the housing if inspection shows need Disassembly NOTE Disassemble the Turbocharger in a clean dust free location using clean tools and equipment Avoid contact with dust or grit that could score the highly machined parts and result in premature failure of the unit 1 Remove the six bolts that secure the compressor housing to the bearing housing then remove the compressor housing and gasket fig 39 2 Hold the turbine wheel blades with a cloth and remove the self locking nut LEFT HAND THREADS from the impeller end of the turbine shaft by turning clockwise fig 40 then remove the impeller washer 3 Support the Turbocharger in a press using parallel blocks or support ring Tool J 21004 with the impeller wheel upward 4 Place a folded cloth on the bed of the press between parallel bars or inside the support ring to avoid damage to the turbine wheel as it drops out of the housing 5 Place a 1 4 diameter brass rod on the end of the turbine shaft fig 41 and press turbine shaft from impeller wheel 6 Remove impeller wheel shim or shims shaft sleeve turbine wheel and shaft assembly turbine shield and shield spring ring LEFT HAND THREADS i r Fig 40 Removing Impeller Nut CORVAR SHOP MANUAL

 Next
Next