Jeep Parts Wiki | Ford Parts Wiki
Home | Search | Browse
|
Corvair Chassis Shop Manual Supplement December 1965 |
|
Prev

 Next
Next
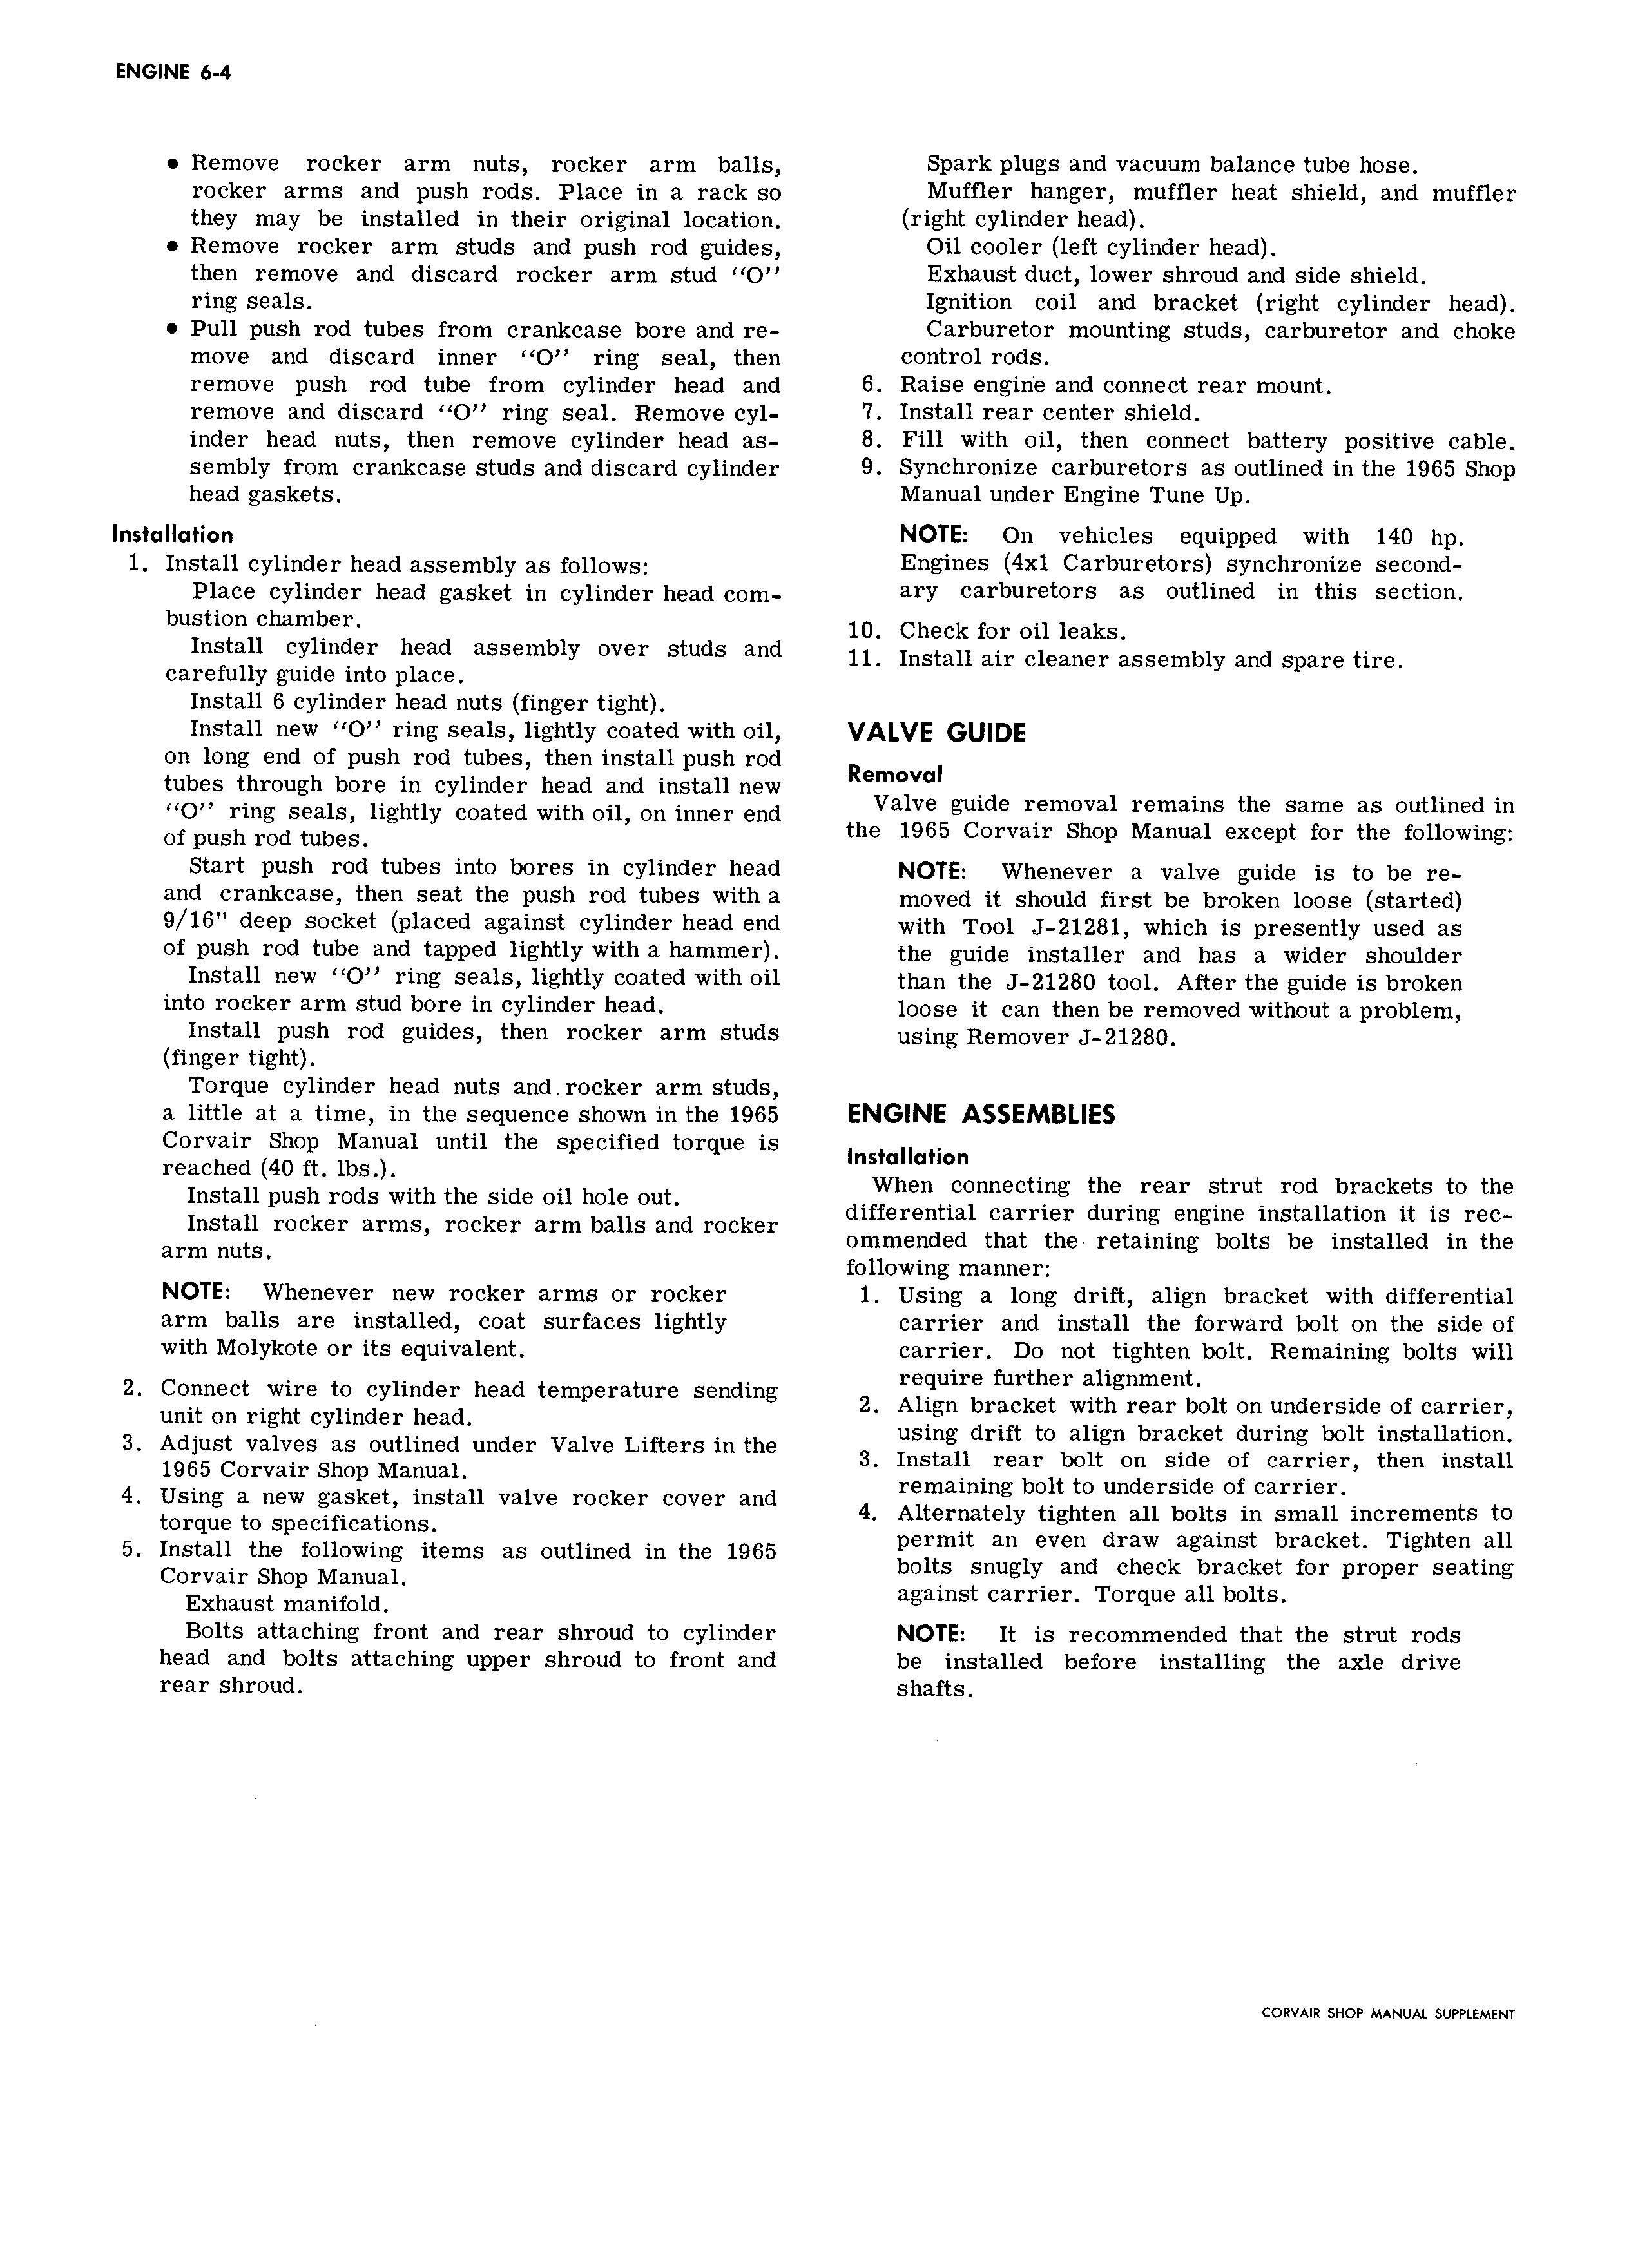
ENGINE 6 4 Remove rocker arm nuts rocker arm balls Spark plugs and vacuum balance tube hose rocker arms and push rods Place in a rack so Muffler h llg l lllllflltll heat shield and m m l they may be installed in their original location right cylinder head Remove rocker arm studs and push rod guides Oil cooler left cylinder head then remove and discard rocker arm stud O Exhaust duct lower shroud and side shield ring seals Ignition coil and bracket right cylinder head Pull push rod tubes from crankcase bore and re Carburetor mounting studs carburetor and choke move and discard inner O ring seal then control rods remove push rod tube from cylinder head and 6 Raise engine and connect rear mount remove and discard O ring seal Remove cyl 7 Install rear center shield inder head nuts then remove cylinder head as 8 Fill with oil then connect battery positive cable sembly from crankcase studs and discard cylinder 9 Synchronize carburetors as outlined in the 1965 Shop head gaskets Manual under Engine Tune Up Installation NOTE On vehicles equipped with 140 hp 1 Install cylinder head assembly as follows Engines 4xl Carburetcrsl synchreniae secend Place cylinder head gasket in cylinder head com ary carbureters as Outlined in this Section b S h m 10 Check for oil leaks calgiligl giluggeef rigid assembly ever Studs and 11 Install air cleaner assembly and spare tire r u y i in o p e Install 6 cylinder head nuts finger tight Install new O ring seals lightly coated with oil VALVE GUIDE on long end of push rod tubes then install push rod Removal tubes lhllauall bollll in Cylllldall head and install new Valve ide removal remains the same as outlined in MOH lllllg SaalS llghlly aaalad with Oll all laallll and the 1965gl orvair Shop Manual except for the following of push rod tubes Start push rod tubes into bores in cylinder head NOTE Whenever a valve guide is to bg re and crankcase then seat the push red tubes with a moved it should first be broken loose started 9 l6 deep socket placed against cylinder head end with Tool 1 21281 which is presently used as ef push red tube and tapped lightly with a hammer the guide installer and has a wider shoulder Install new 0 ring seals lightly coated with eil than the J 21280 tool After the guide is broken inte rocker arm stud bcre in cylinder head loose it can then be removed without a problem Install push rod guides then rocker arm studs using Remover J 2128 finger tight Torque cylinder head nuts androcker arm studs a little at a time in the sequence shown in the 1965 ENGINE ASSEMBLIES Corvair Shop Manual until the specified torque is Insmllunon raaaaaa aaa 1bS When connecting the rear strut rod brackets to the Iaatau push mas with tha alaa au hula aul differential carrier during engine installation it is rec rrsreu r rer ermS recker erm balls are r ker ommended that the retaining bolts be installed in the arm aula following manner NOTE Whenever new rocker arms or rocker 1 Using a long drift align bracket with differential arm balls are installed coat surfaces lightly carrier and install the forward bolt on the side of with Molykote or its equivalent carrier Do not tighten bolt Remaining bolts will re uire further ali nment a Cauuaal Wlra la ayuaaar uaaa lamparalura Saaauag 2 Alllgn bracket withgrear bolt on underside of carrier uhlt 0h Fight GYll1ld l h d d it to ali n bracket durin bolt installation 3 Adjust valves as outlined under Valve Lifters in the 3 uamg rl g g nstall rear bolt on side of carrier then install laaa Callvala Shop Maauaa remaining bolt to underside of carrier a Usme a new easter msrau Valve maker V r and 4 Alternately tighten all bolts in small increments to torque to specifications t b acket T hum all 5 Install the following items as outlined in the 1965 permrr an e e draw r g S r g Corvair Shop Manual bolts snugly and check bracket for proper seating Exhaust manifold against carrier Torque all bolts Bolts attaching front and rear shroud to cylinder NOTE It is recommended that the strut rods head and bolts attaching upper shroud to front and be installed before installing the axle drive rear shroud shafts CORVAIR SHOP MANUAL SUPPLEMENT

 Next
Next