Jeep Parts Wiki | Ford Parts Wiki
Home | Search | Browse | Marketplace | Messages | FAQ | Guest
Prev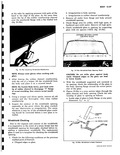
 Next
Next
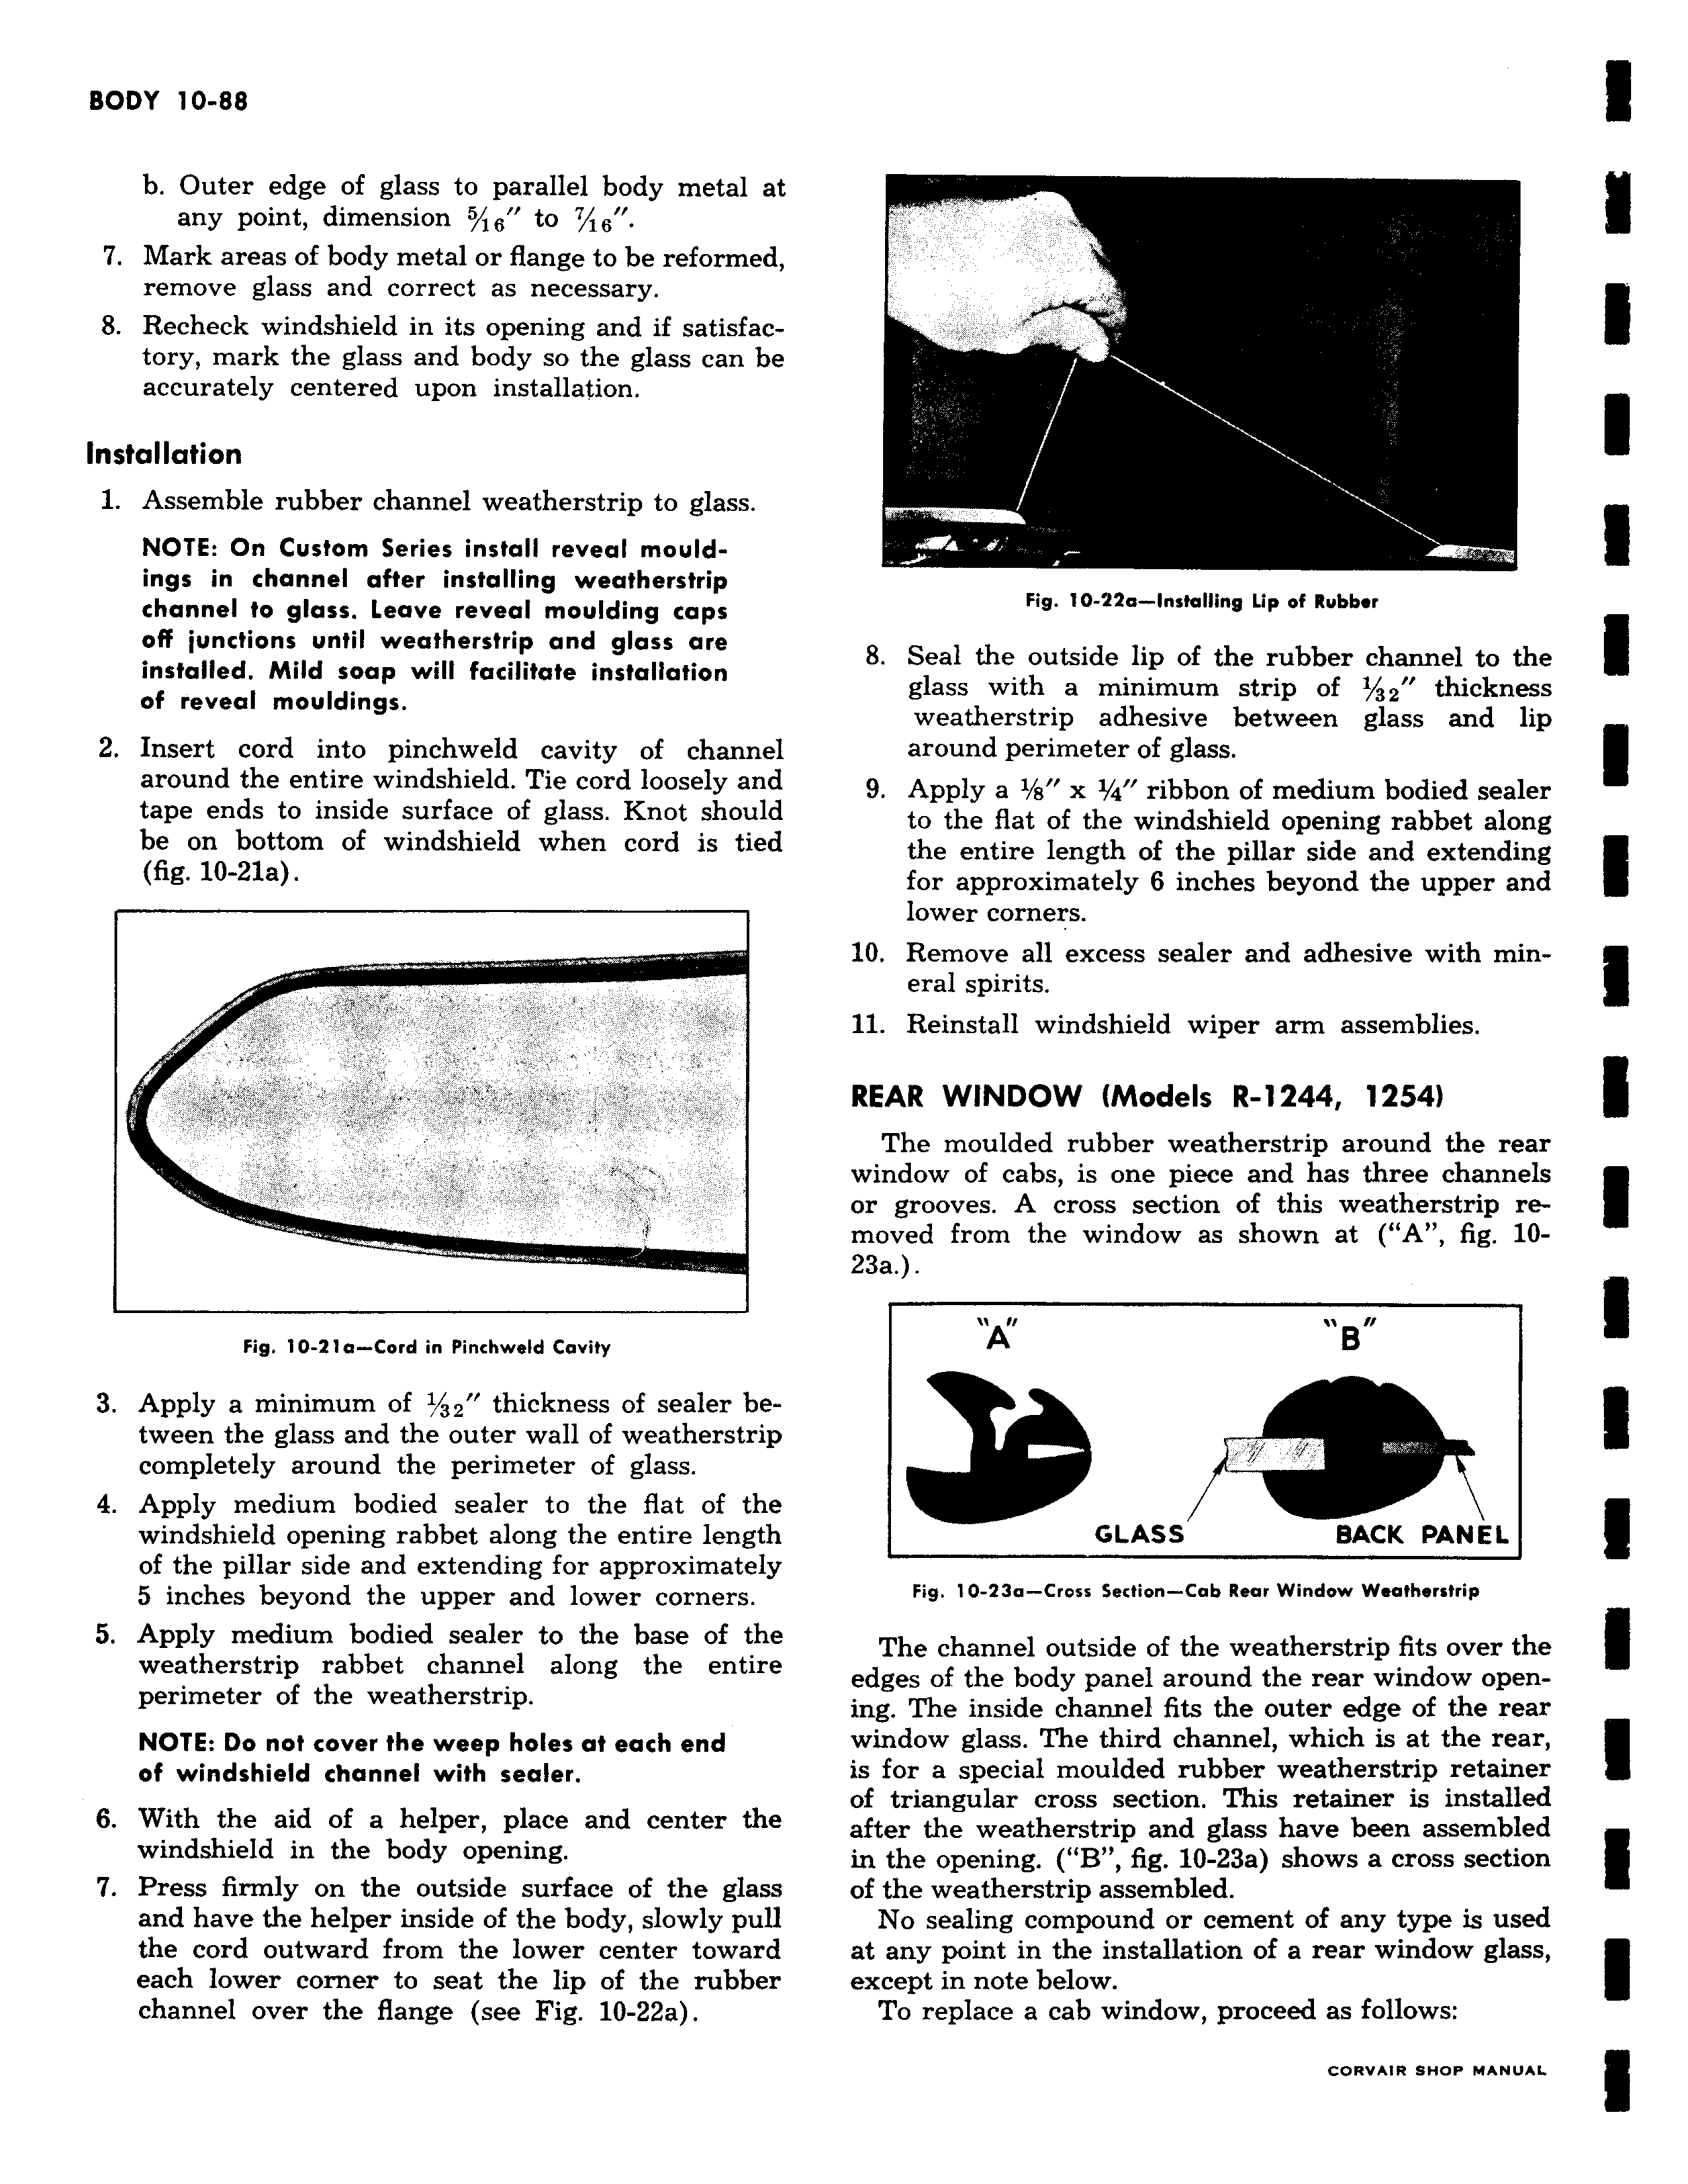
b Outer edge of glass to parallel body metal at any point dimension 6 to 7 16 7 Mark areas of body metal or flange to be reformed remove glass and correct as necessary 8 Recheck windshield in its opening and if satisfactory mark the glass and body so the glass can be accurately centered upon installation Installation 1 Assemble rubber channel weatherstrip to glass NOTE On Custom Series install reveal mouldings in channel after installing weatherstrip channel to glass Leave reveal moulding caps off junctions until weatherstrip and glass are installed Mild soap will facilitate installation of reveal mouldings 2 Insert cord into pinchweld cavity of channel around the entire windshield Tie cord loosely and tape ends to inside surface of glass Knot should be on bottom of windshield when cord is tied fig 10 21a i Fig 10 21a Cord in Pinchweld Cavity 3 Apply a minimum of 32 thickness of sealer between the glass and the outer wall of weatherstrip completely around the perimeter of glass 4 Apply medium bodied sealer to the flat of the windshield opening rabbet along the entire length of the pillar side and extending for approximately 5 inches beyond the upper and lower corners 5 Apply medium bodied sealer to the base of the weatherstrip rabbet channel along the entire perimeter of the weatherstrip NOTE Do not cover the weep holes at each end of windshield channel with sealer 6 With the aid of a helper place and center the windshield in the body opening 7 Press firmly on the outside surface of the glass and have the helper inside of the body slowly pull the cord outward from the lower center toward each lower corner to seat the lip of the rubber channel over the flange see Fig 10 22a r Fig 10 22a Installing Lip of Rubber 8 Seal the outside lip of the rubber channel to the glass with a minimum strip of 1 32 thickness weatherstrip adhesive between glass and lip around perimeter of glass 9 Apply a 1 a x I 4 ribbon of medium bodied sealer to the flat of the windshield opening rabbet along the entire length of the pillar side and extending for approximately 6 inches beyond the upper and lower corners 10 Remove all excess sealer and adhesive with mineral spirits 11 Reinstall windshield wiper arm assemblies REAR WINDOW Models R 1244 1254 The moulded rubber weatherstrip around the rear window of cabs is one piece and has three channels or grooves A cross section of this weatherstrip removed from the window as shown at A fig 1023a it Ar B GLASS BACK PANEL Fig 10 23a Cross Section Cab Rear Window Weafherstrip The channel outside of the weatherstrip fits over the edges of the body panel around the rear window opening The inside channel fits the outer edge of the rear window glass The third channel which is at the rear is for a special moulded rubber weatherstrip retainer of triangular cross section This retainer is installed after the weatherstrip and glass have been assembled in the opening B fig 10 23a shows a cross section of the weatherstrip assembled No sealing compound or cement of any type is used at any point in the installation of a rear window glass except in note below To replace a cab window proceed as follows